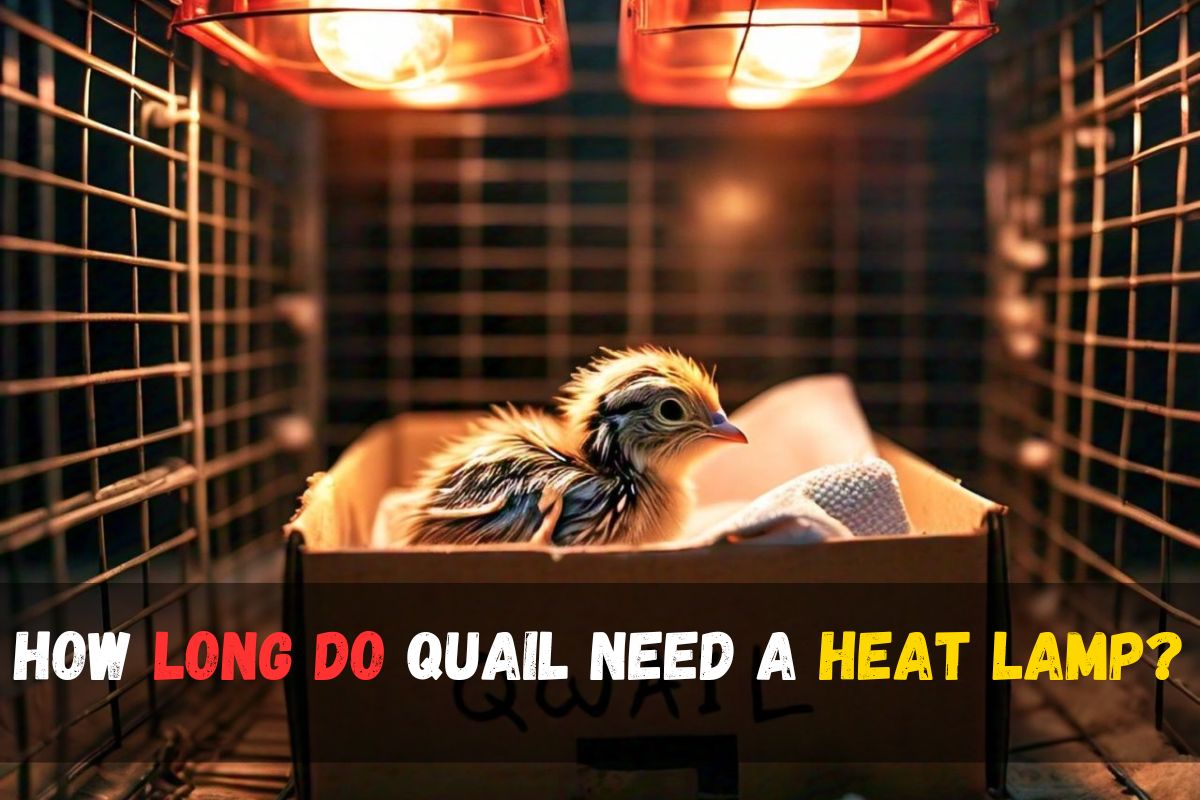
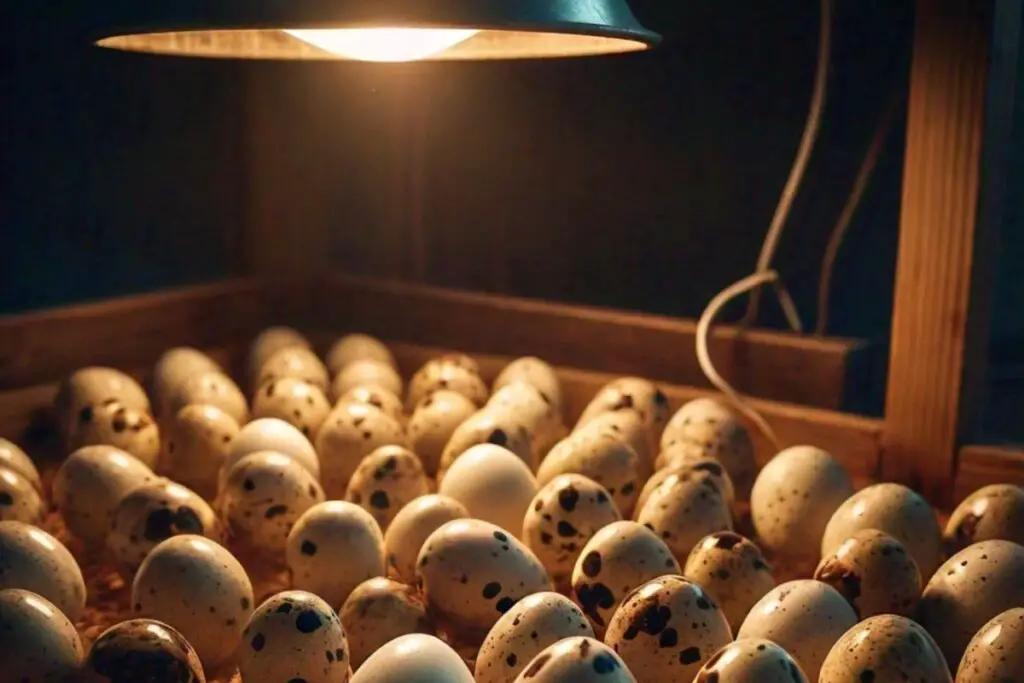
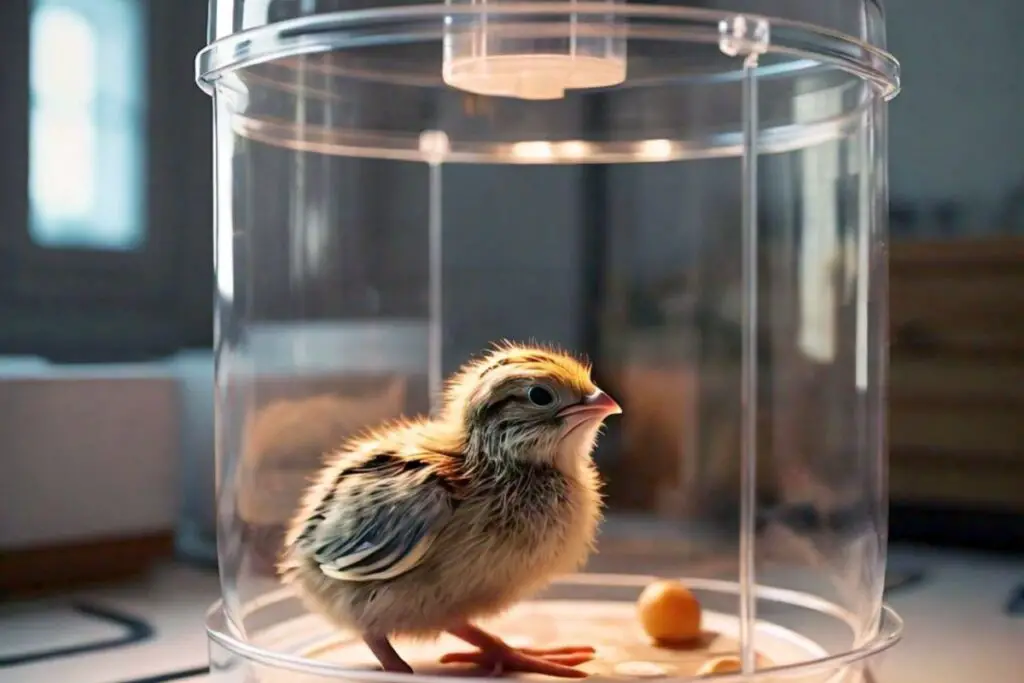
How long do quail need a heat lamp?
Quail, like other birds, require a heat source during their early days. It’s advisable to keep baby quail in the brooder for a minimum of 10-14 days, ensuring the box is spacious enough for the number of birds. The ideal method is to use a heat lamp or heat source in a controlled environment known as a brooder. When raising quail, it’s important to consider factors such as body temperatures, especially for newly hatched chicks. These temperatures gradually decrease over time, and monitoring the brooder temperature is crucial.
As the quail grows, the need for a heat lamp diminishes. Observing the behavior of the quail is key; if they are comfortable, you can gradually reduce the brooder temperature. Additionally, when planning to integrate quail with adult counterparts, it’s recommended to wait until the quail is around six weeks old. This minimizes the risk of aggression or attacks from other quail.
Importance of providing heat for quail chicks
Ensuring an optimal thermal environment for quail chicks is of paramount importance, underscored by the critical role that temperature regulation plays in their early development. The significance of providing adequate heat for quail chicks is multi-faceted, intertwined with both physiological and behavioral aspects that collectively contribute to the overall well-being and productivity of the flock.
From a physiological perspective, quail chicks are highly sensitive to temperature variations during their initial stages of life. Maintaining an appropriate ambient temperature is crucial for fostering proper metabolic functions, promoting efficient digestion, and supporting the development of vital organ systems. Inadequate heat provision can lead to energy diversion towards thermoregulation, compromising essential growth processes and rendering the chicks susceptible to stress-related disorders.
Furthermore, the establishment of an optimal thermal environment catalyzes behavioral patterns conducive to growth and vitality. Quail chicks, being precocial birds, rely on their ability to regulate body temperature through proximity to heat sources.
A Comprehensive Guide to Quail Chick Development
Understanding Growth Stages
In the intricate world of quail chick development, it’s imperative to grasp the nuances of their growth stages. From the fragility of hatching to the emergence of feathers, each phase demands specific attention. An expert quail keeper recognizes that an intimate understanding of these stages is pivotal for creating the optimal conditions necessary for the chicks’ well-being. This knowledge becomes the foundation for precise temperature management and overall successful quail rearing.
Ideal Temperature Range: Ensuring Optimal Conditions
Understand that maintaining the ideal temperature range is not merely a matter of comfort but a critical factor influencing growth and health. This range is a dynamic parameter, evolving as the chicks progress through different developmental phases. Straying from these optimal conditions can induce stress, potentially stunting growth and compromising the resilience of the quail chicks. Expertise lies in the nuanced ability to balance the temperature precisely, ensuring an environment conducive to healthy quail development.
When to Start Using a Heat Lamp?
Expertise in quail husbandry involves an acute awareness of the pivotal moment to introduce a heat lamp. This decision hinges on a keen observation of the chicks’ behavior and responsiveness to their surroundings. The adept quail keeper recognizes the subtle signs indicating when supplemental heat is required. A timely initiation not only guarantees the chicks’ comfort during their vulnerable initial days but also lays the groundwork for robust development in the weeks to come.
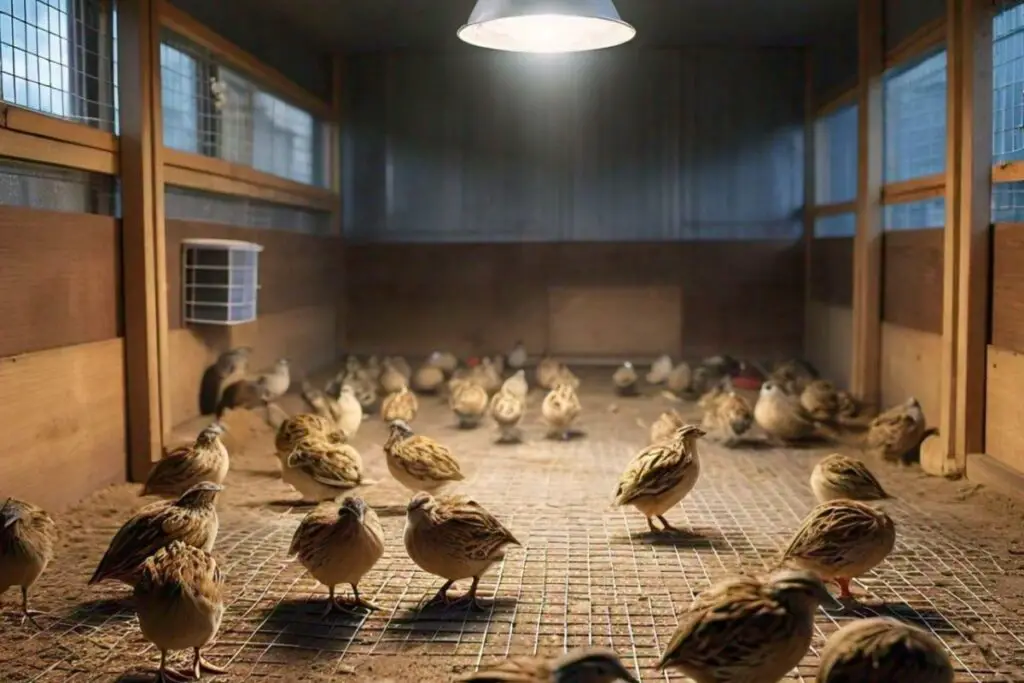
Setting Up the Heat Lamp
A judicious quail keeper pays meticulous attention to the arrangement of the heat lamp. The proper placement is not a mere logistical concern but a strategic move to ensure uniform heat distribution, preventing stress points within the brooding area. Expertise extends to selecting the right equipment, considering factors like lamp size and intensity. The goal is to create an environment where the heat lamp acts as a facilitator of growth rather than a potential source of stress.
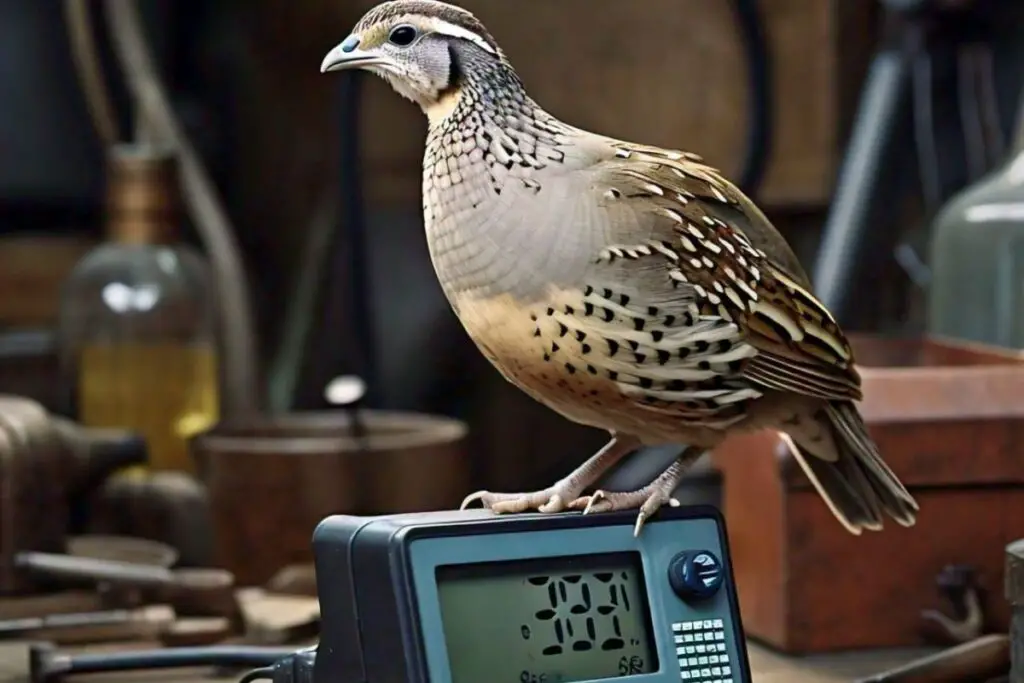
Monitoring Temperature
Consistent temperature monitoring is the hallmark of a seasoned quail aficionado. Whether utilizing thermometers or heat lamps with built-in controls, the expert quail keeper is vigilant in maintaining a steady temperature gradient. Regular surveillance becomes second nature, with any deviations promptly addressed. This proactive approach is not just about avoiding extremes; it’s a commitment to providing a stable and nurturing environment essential for the chicks’ overall well-being.
Week 1: The Brooding Period – Initial Requirements and Gradual Reduction
Navigating the delicate first week of a quail chick’s life demands an expert touch. Understanding their initial temperature requirements is not a static concept but a nuanced adaptation to mimic the care provided by a mother quail. Expertise is evident in the gradual reduction of temperature during this period, a calculated step towards fostering the chicks’ innate adaptability and preparing them for the subsequent developmental milestones.
Weeks 2-3: Transitional Phase – Adjusting to Growth and Cold Resistance
This period is marked by a keen observation of signs indicating increased cold resistance in the growing chicks. The adept handler navigates this phase with precision, ensuring the temperature aligns seamlessly with the chicks’ developmental trajectory, promoting not just survival but optimal growth.
Weeks 4-6: Reducing Heat – Lowering Intensity and Preparation for Independence
Lowering the intensity of the heat lamp during weeks 4-6 requires a nuanced understanding of the chicks’ progression toward independence. This phase is not merely about reducing reliance on supplemental heat; it’s a strategic preparation for the chicks to thrive independently, showcasing the proficiency of the quail keeper.
Week 7: Assessing Feathers – Role in Temperature Regulation
In the seventh week, an expert quail handler shifts focus to the emerging feathers, recognizing their pivotal role in temperature regulation. A thorough understanding of this milestone informs decisions regarding the chicks’ readiness to maintain their body heat. This transition is a testament to the quail keeper’s expertise, ensuring the chicks are equipped for the next phase of their development.
Week 8: Weaning from Heat – Gradual Removal and Outdoor Preparation
The eighth week marks a significant juncture, demanding expert finesse in gradually removing the heat lamp. This isn’t just about cessation but a strategic transition preparing the quail chicks for life without supplemental heat. The expert quail keeper carefully times this step, setting the stage for successful outdoor acclimatization.
Outdoor Acclimatization
Guiding quail chicks into outdoor pens necessitates more than routine expertise; it requires a comprehensive strategy. Protection from extreme weather conditions becomes a priority, showcasing the keeper’s foresight in ensuring a seamless transition. A gradual exposure to the elements, coupled with strategic shelter, is the hallmark of an expert preparing quail for life beyond the brooding environment.
Special Considerations: Adapting for Different Quail Species
True expertise in quail husbandry extends beyond a one-size-fits-all approach. An adept quail keeper tailors their care, adjusting heat lamp duration and intensity based on the specific needs of different quail species. This nuanced understanding acknowledges and accommodates the unique requirements of each species, showcasing the flexibility and breadth of the keeper’s knowledge.
Health and Behavior: Monitoring for Stress and Recognizing Signs
The health and behavior of quail chicks become a canvas for an expert quail keeper. Meticulous observation is not limited to routine check-ups but extends to identifying subtle signs of stress related to temperature fluctuations. Recognizing symptoms of overheating or cold stress isn’t just a skill; it’s a testament to the keeper’s commitment to the well-being of their charges, ensuring optimal conditions for growth and development.
How to Incubate Quail Eggs
Set the Temperature Inside the Incubator
Your incubator should be between 99 Degrees Fahrenheit and 100.4 degrees Fahrenheit consistently. Temperatures that are too low can stunt chicks’ growth, while excessively high temperatures can be fatal. As the chicks develop inside the eggs, the air temperature in the incubator may rise. To ensure optimal conditions, check the incubator’s temperature daily. Digitally controlled incubators will automatically adjust the temperature as needed.
Place the Eggs
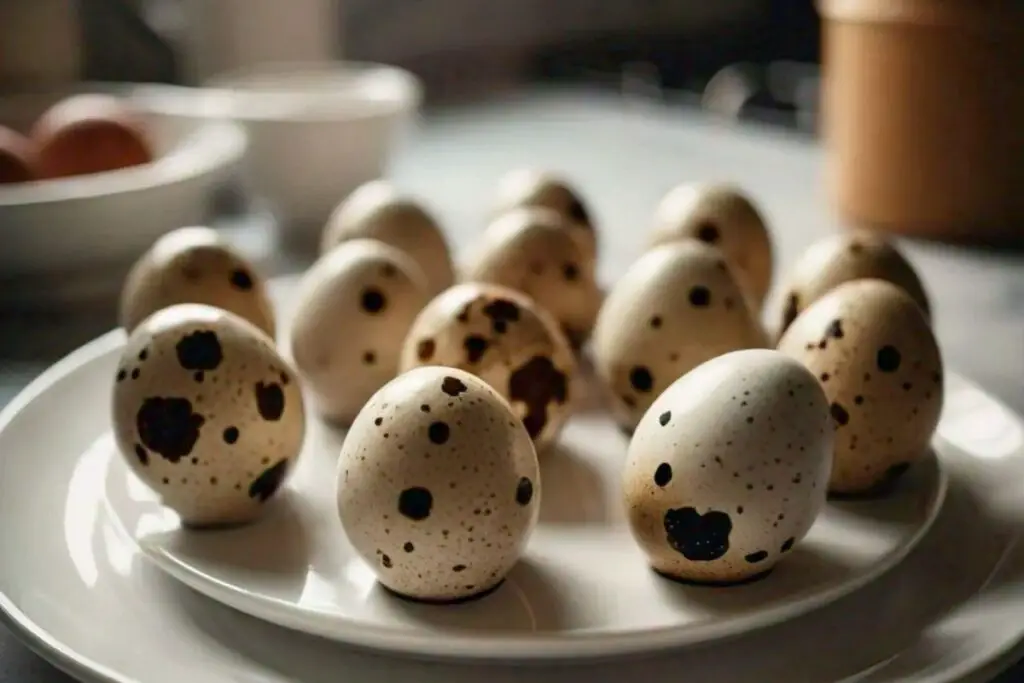
The crucial step is placing the quail eggs correctly. To achieve successful incubation, follow these expert guidelines. Examine the small end of each egg, where you’ll notice a small air sac. It’s imperative to position the egg in the incubator with the air sac pointing upward. This orientation ensures the proper development of the embryo. By carefully placing the eggs in this manner, you create an optimal environment for the incubation process. Remember, precision in positioning is key to a successful quail egg incubation.
Rotate the Eggs
To incubate quail eggs successfully, ensure they are rotated at least three times a day until day fifteen. If your incubator has an automatic turner, take advantage of it to simplify the process. However, if you lack an automatic turner, manually rotate the eggs yourself.
To guarantee proper rotation, employ the X and O method. Mark one side of each egg with an “x” and the other with an “o.” Using the palm of your hand, gently roll the eggs to the “x” position once, and later in the day, roll them to the “o” position. Perform this process at least three times each day.
Maintain Humidity
To incubate quail eggs successfully and maintain proper humidity levels, start with a ‘dry hatch’ approach for the initial fifteen days, where no extra humidity is added to the incubator. However, if you reside in a dry location, consider introducing humidity by keeping it around 45% during the first fifteen days.
To achieve this, you can add water to the incubator channels, use a damp sponge, or invest in a stand-alone humidity unit available from reputable sources like the Incubator Warehouse. As you approach the final three days of hatching, increase the humidity to 65%. Be cautious not to let it get too high, as excessive humidity might lead to chicks drowning in their eggs or too low, causing difficulties in breaking through the membrane or shell.
When adding water, especially in the last three days, opt for distilled water to prevent bacterial growth. Warm the water to a touchable warmth, avoiding hot temperatures to maintain a stable environment during the hatch. Minimize opening the incubator only when necessary, ensuring both temperature and humidity remain stable throughout the process.
Lock Down
The lockdown period, starting from day fifteen until the chick’s hatch, is vital for a successful incubation process. Avoid opening the incubator during lockdown to prevent any sudden temperature and humidity shifts, which can cause the egg membrane to shrink and potentially harm the developing chicks.
When initiating the lockdown phase for quail eggs, first, carefully remove the automatic egg turner assembly from the incubator. Open the incubator and lift out the entire egg-turner assembly with caution. Proceed to gently remove the quail eggs one at a time, laying them on their sides inside the incubator. Failure to remove the egg turner may lead to the chicks getting stuck, resulting in injuries or even death.
Hatch Day
Incubating quail eggs on hatch day involves a careful and exciting process. Quail hatchers need to monitor the eggs closely, especially during the critical period from day 15 to day 25. Most hatching occurs between days 16 and 18, and the signs of impending hatching include tiny chirps from unhatched eggs.
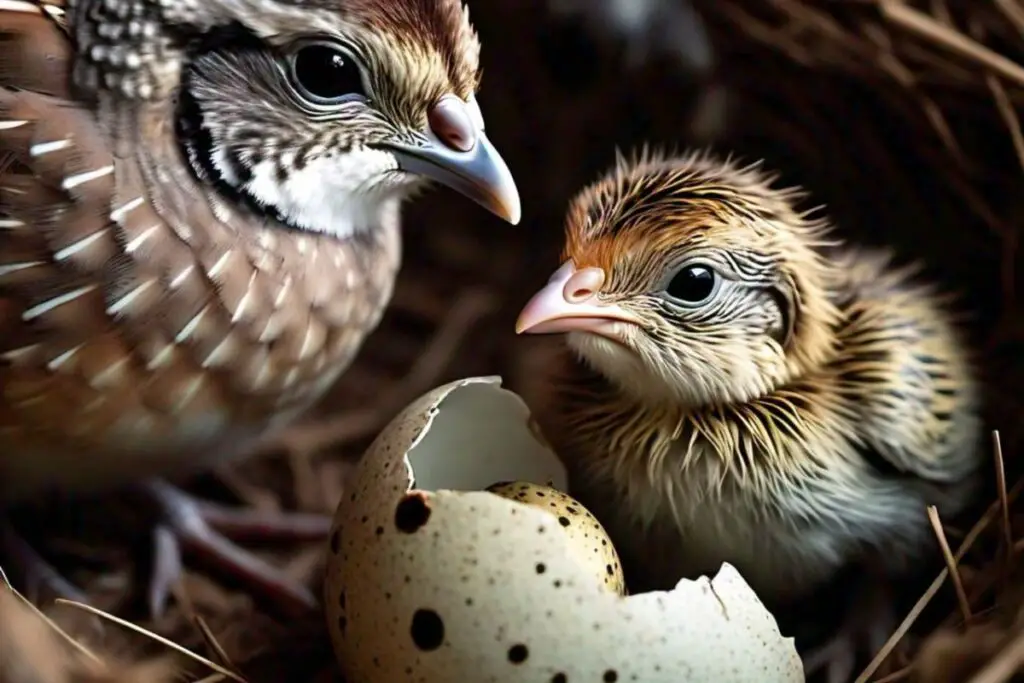
It’s essential to observe this stage closely as the baby quail begins to pip or poke a hole in the shell with their beak. After pipping, the eggs will start to zip, indicating the creation of a crack around the shell as the quail prepares to hatch. This process usually takes around twenty-four hours, though sometimes it may extend longer without any issues.
During this delicate balancing act, hatchers may face the decision of whether to remove the hatched quail from the incubator while others are still hatching or to wait until all quails have hatched. Ideally, once the baby quail has started to hatch, they can remain in the incubator for 24 to 30 hours.
However, caution is needed when opening the incubator, as eggs that have been pipped but not hatched might become shrink-wrapped and require assistance. The ability to open the incubator without causing humidity and temperature issues depends on the type of incubator used. Some incubators can withstand occasional openings, while others may not.
Take the Quail out of the Incubator
After carefully monitoring the incubator for about 30 hours, you face a dilemma: either risk the unhatched eggs by removing the hatchlings or risk the hatchlings by leaving them in the incubator longer. This decision-making process may require a few hatches to determine the optimal approach for both you and your incubator.
Once the early quail starts hatching, the experience becomes captivating as they pop out of their eggs, resembling a delightful popcorn display. This moment marks the excitement of the incubation journey.
As you progress towards day 18, the likelihood of the remaining eggs hatching decreases, although there’s still a possibility. To assess this, consider performing a float test on the remaining eggs. This step can help you determine their potential for hatching.
FAQ’S
How fast do quail grow?
Coturnix quail, known for their gentle nature, exhibit remarkable growth within a short timeframe. These birds, adaptable to small spaces, showcase a diverse range of varieties. Their rapid development is highlighted by being considered fully grown at just six weeks of age. Beyond their appealing demeanor, Coturnix quail are prized for their efficient meat and egg production. The accelerated growth rate is particularly noteworthy, with these birds beginning to produce eggs as early as eight weeks. This quick maturation sets them apart, making them a preferred choice for those seeking swift returns in both meat and egg yields.
What age do quail get feathers?
Quail begins to grow pin-feathers at about 8 days of age. Before this stage, natal down predominates, and neonates are extremely vulnerable to the elements. Feathers play a crucial role in providing lift and propulsion for quail, particularly when they are flushing to avoid predators. This development is significant for the quail’s ability to navigate their environment and escape potential threats, highlighting the importance of feathers in their early stages of life.
What is the hardest quail to raise?
The Bobwhite Quail is known for its distinct developmental phases. It takes approximately 16 weeks for them to develop into skilled flight birds and around 26 weeks to reach the stage of laying eggs and reproducing. Considering the different aspects of quail farming, the duration of their development, and the challenges involved, the specific timeframe and characteristics of the Bobwhite Quail make it a unique and potentially challenging species to raise compared to other quail varieties.